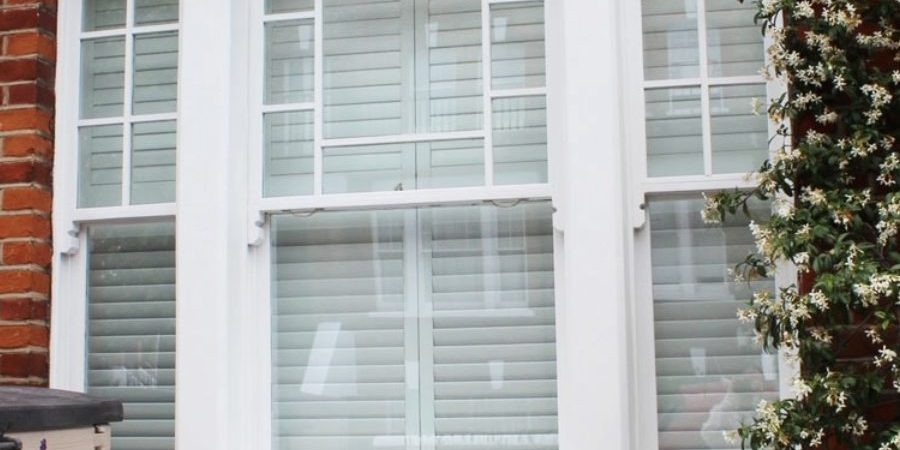
Sash windows are a timeless feature of many homes, adding charm and character. Over time, however, layers of paint and stubborn stains can accumulate, detracting from their beauty. In this guide, we’ll explore practical techniques for removing paint and stains from sash windows and restoring them to their former glory. Whether you’re a DIY enthusiast or seeking professional assistance, New Forest Joinery has the expertise to help you breathe new life into your windows.
Understanding the Challenge
Before diving into the removal process, it’s crucial to understand the nature of the challenge. Sash windows are often subjected to weather extremes, causing the paint to crack, peel, or blister. Stains can result from exposure to environmental pollutants, and water damage, through years of wear and tear. Addressing these issues requires a careful approach to avoid damaging the wood beneath the layers.
Tools and Materials
Before getting started, gather the necessary tools and materials. These may include a paint stripper, sandpaper, a scraper, gloves, safety glasses, and a mask. Ensure you have a well-ventilated workspace, and ideally consider using an eco-friendly or low-odour product to minimise environmental impact.
Assessment:
Begin the assessment process by inspecting your sash windows both inside and out. Pay close attention to the window frames, sills, and muntins. Note any areas where the paint is peeling or cracking and spots with stubborn stains that may have accumulated over time. Additionally, you should examine the overall structural integrity of the windows and check for any signs of rot or decay; this will give you a detailed evaluation that will provide a comprehensive understanding of the restoration requirements and guide your strategy for addressing specific issues in different sections of the windows.
Safety Precautions:
When gearing up for the restoration project, prioritise your safety by wearing the appropriate protective gear. Choose durable gloves to shield your hands from the potential hazards of paint strippers and other chemicals. Equip yourself with safety glasses that provide complete eye protection, guarding against accidental splashes or debris. Wear a mask to prevent the inhalation of fumes generated during the paint stripping. These safety measures are essential to ensure a secure working environment as you proceed with the restoration.
Paint Stripping:
Select a reputable and effective paint stripper suitable for the type of paint on your sash windows. Apply the stripper generously to the affected areas, adhering strictly to the manufacturer’s application and dwell time guidelines. You are using a scraper to peel away the layers as the paint bubbles delicately. During this process, ensure each layer is thoroughly removed before progressing. Repeat the application and scraping until the windows are entirely old paint-free, revealing the bare wood beneath.
Sanding:
After successfully removing the paint, transition to fine-grit sandpaper to refine the wood surface. Sanding eliminates any lingering paint residue and creates a smooth foundation for subsequent restoration. Exercise caution to avoid over-sanding, which can compromise the integrity of the wood. Pay special attention to corners and intricate details, ensuring a uniform and polished finish that sets the stage for the subsequent phases of the restoration process.
Stain Removal:
Address stubborn stains with a natural and effective solution. Combine vinegar and baking soda to paste and apply them to the stained areas. Gently scrub the mixture into the stains using a soft brush, ensuring thorough coverage. A blend of lemon juice and salt can work wonders for water stains. Prioritise testing these solutions on a small, inconspicuous window section before applying them to the entire surface. This meticulous approach ensures that stain removal is effective and safe for your sash windows.
Final Touches:
With the paint and stains successfully removed, embark on the final touches to revive the beauty of your sash windows. Conduct a thorough cleaning to eliminate any remaining residue from the restoration process. Consider applying a wood conditioner or primer, providing additional protection to the exposed wood; this prepares the surface for the upcoming application of fresh paint or stain, ensuring a durable and long-lasting finish for your beautifully restored sash windows.
In conclusion, whether you tackle this project yourself or get help, restoring sash windows to their original beauty requires patience, the right tools, and a careful approach. By following these steps and incorporating eco-friendly practices, you can ensure your sash windows stand the test of time, maintaining their elegance for generations. If, on the other hand, you seek the expertise of professionals, New Forest Joinery is here to work with you every step of the way through our Sash Window Replacement Service. Want to learn more about it? Please get in touch.

