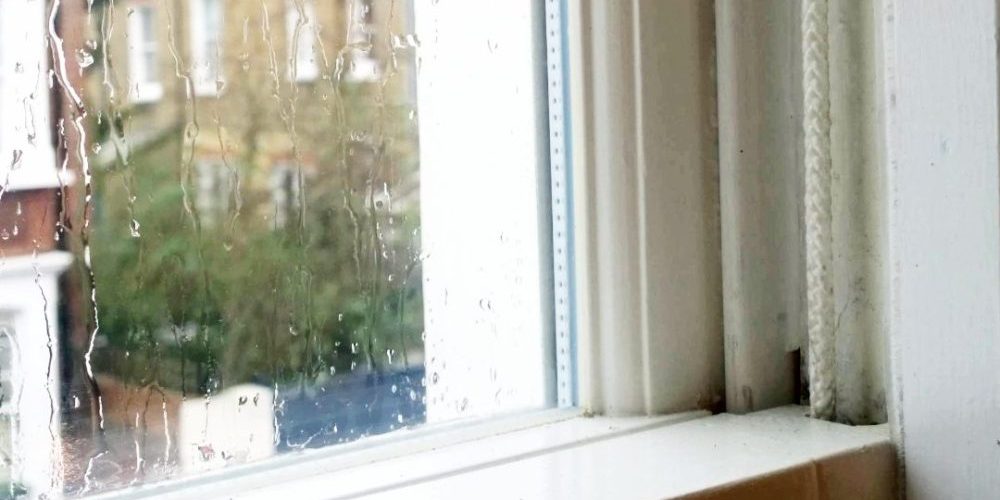
Sash windows are a great choice if you want to add a touch of timeless elegance to your home. However, over time, wear and tear can impact their functionality. One common issue faced by homeowners is broken sash cords. If you’re dealing with this problem, fear not! In this step-by-step guide, New Forest Joinery will walk you through replacing broken sash cords, ensuring your windows operate smoothly and efficiently.
Why Sash Cords Break:
Before diving into the replacement process, it’s essential to understand why sash cords break. Sash cords are subjected to constant stress as windows are opened and closed. Over time, exposure to the elements, temperature fluctuations, and general wear can cause the cords to weaken and eventually snap. Regular maintenance and timely replacements can extend the lifespan of your sash windows.
Tools and Materials:
To replace broken sash cords, you’ll need a few tools and materials:
- Screwdriver
- Hammer
- Chisel
- Pliers
- Utility knife
- New sash cord
- Sash weights (if necessary)
- Wood filler
- Paint or wood finish
Step 1: Remove the Window Sash:
To begin replacing broken sash cords, open the window. Carefully slide the window sash upwards to its fully open position. Once the window is open, locate the parting bead, a thin strip of wood that separates the upper and lower sashes. Using a flathead screwdriver, gently pry the parting bead away from the window frame. Be cautious during this step to avoid damaging the bead.
Carefully extract the window sash from its frame with the parting bead removed. Note the sash’s orientation, which will be crucial during the reassembly process. Next, use the screwdriver to detach the staff beads on either side of the window. The staff beads are the vertical strips that hold the sash in place. Carefully set them aside, as they will be used to secure the sash during reinstallation.
Step 2: Remove Old Sash Cords:
Inspect the window frame to locate the broken sash cords. Using pliers, carefully remove any remaining pieces of the old cords, ensuring all remnants are extracted. If your window has sash weights, these are typically housed in pockets on either side of the window frame. Use a screwdriver to detach the sash weights from the frame. Be mindful not to damage the pulleys or the surrounding woodwork.
Take a moment to remove debris or old putty from the sash cord channels. A chisel or utility knife can help with this task. This step is crucial for ensuring the smooth movement of the new sash cords.
Step 3: Install New Sash Cords:
Measure the length of the old sash cords you removed and cut the new cords accordingly. Add a few extra inches to the measured length to allow for knotting. Thread the new cords through the pulleys or channels in the window frame, ensuring they follow the original path of the old cords.
Once the cords are in place, secure them with a knot at the bottom, ensuring a tight and secure fit. If your window uses sash weights, reattach them to the new cords. This step is vital for counterbalancing the weight of the window sash.
Step 4: Reassemble the Window:
With the new sash cords securely, carefully position the window sash back into its frame. Pay close attention to the original orientation noted earlier. Reattach the staff beads on both sides of the window, securing them in place with screws. Ensure a snug fit to keep the sash securely in position. Reinstall the parting bead, pressing it into place to complete the reassembly.
Step 5: Test the Window:
Operate the window by opening and closing it to ensure smooth and effortless movement. Double-check the sash cords for proper installation if you encounter any resistance or uneven motion. Make any necessary adjustments to ensure the window operates seamlessly.
Step 6: Seal and Finish:
Inspect the repaired areas for any gaps or holes. Fill these imperfections with wood filler, using a putty knife to create a smooth surface. Once the filler is dry, sand the repaired areas to achieve a uniform and polished finish. Finally, apply paint or a wood finish to match the existing window frame, ensuring a seamless and aesthetically pleasing look. This step enhances the window’s appearance and protects against the elements.
In conclusion, with this step-by-step guide, you can easily replace broken sash cords and restore the functionality of your sash windows. Regular maintenance and timely repairs enhance your home’s aesthetic appeal and improve your windows’ longevity. You should consult a repair expert if you encounter any challenges during the process. We don’t have a repair service at New Forest Joinery, but we do have a replacement service where we can work with you to replace your sash windows, restoring the space to its original state. Happy window repair!

